All Finished!
- Cody

- Jul 28, 2019
- 2 min read
Updated: Aug 4, 2019
The tunnel portals look great! They took me a little longer than usual to finish, due to the chaotic week I had. But, let's get into their creation!
To create a smooth surface on the porous foam I used Plaster of Paris. I mixed the plaster with water to the same consistency of a milkshake and dipped the portals in the mixture. Using my finger, (I suggest getting medical gloves) I smoothed out the wet plaster as best as possible to avoid large clumps on the outward facing side. From this I just let them dry. With the hot weather it did not take long. To get them as smooth as possible, I sanded the portals down with 200 grit sandpaper.

There were some blemishes left over, but that helps making the portals look weathered!
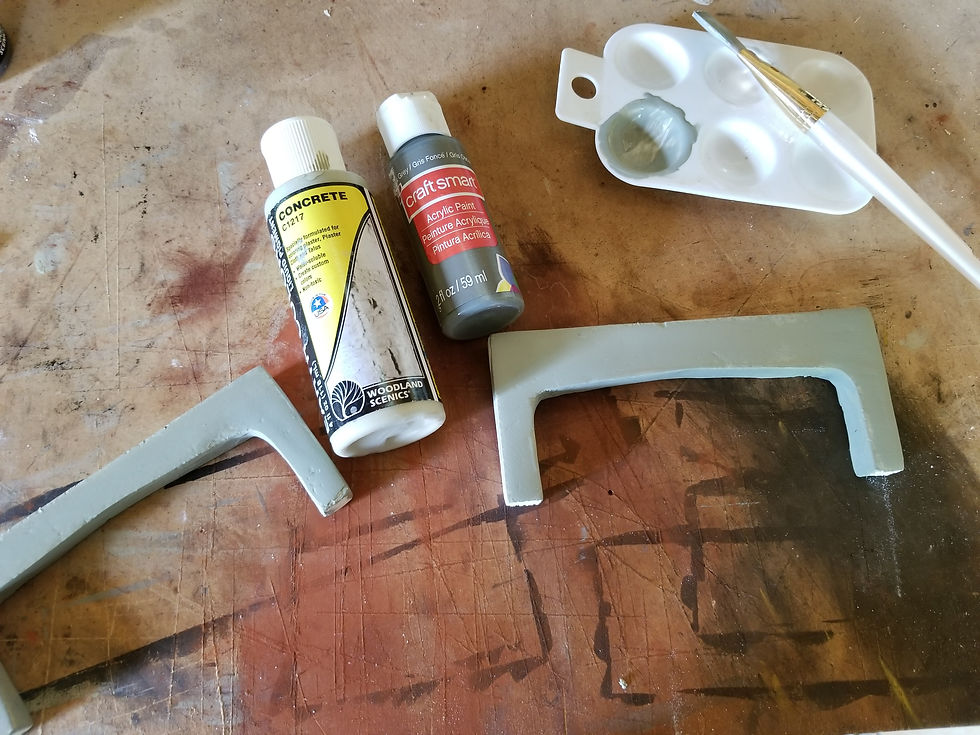
Now to paint the portals. To get the color that I wanted, I mixed Woodland Scenics concrete paint with an acrylic grey. I eyeballed how much of each to get the right mix.
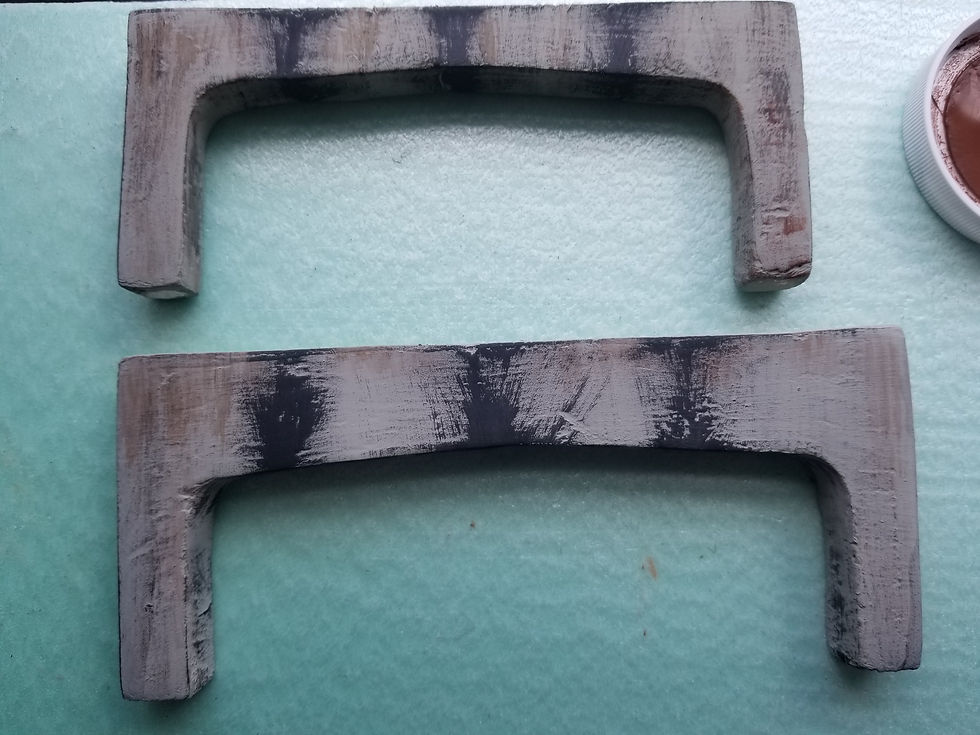
To finish, I wanted to weather the portals to make them look more realistic. This was done using Woodland Scenics burnt umber, brown, and black paints. Utilizing a dry brushing method, I was able to create fairly old and highly used tunnel portals!


Comments